
Why DIY Epoxy Garage Floor Coating Kits Fail (And What a Pro Install Does)
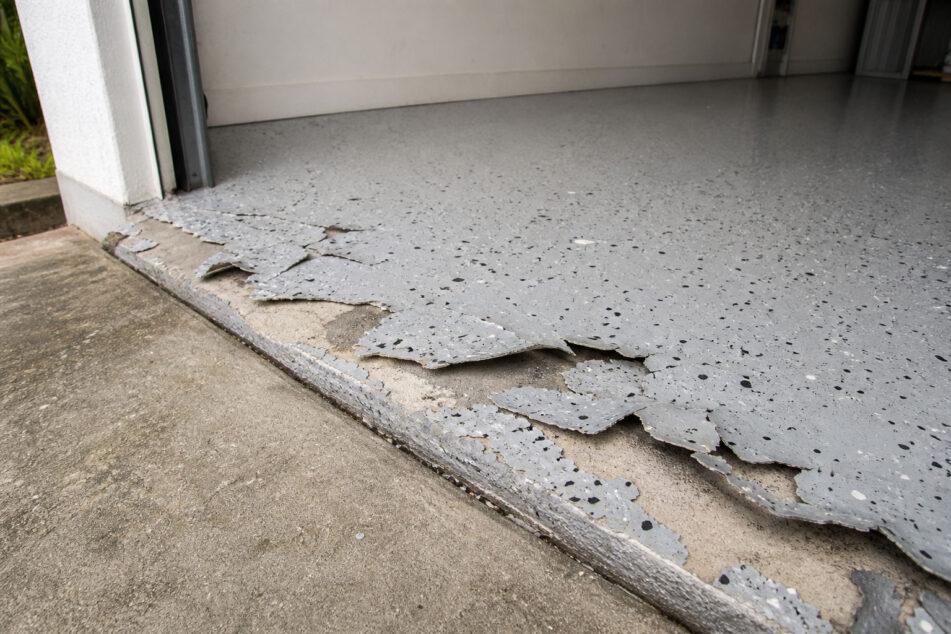
Most of the failed garage floor coating jobs I get called out to look the same. The homeowner laid a DIY epoxy kit a summer or two ago; it looked sharp for a few months, and now there’s a curling edge near the roller door or a patch of flake peeling off the slab where the car sits. They’re not sure if they did something wrong. Usually, they didn’t — the epoxy kit just wasn’t built for the job.
This article is about why those kits fail on Gold Coast to Redlands garages, and what a professional epoxy garage floor does differently. It isn’t a how-to guide for getting more out of a kit. If you’re after a refresh on a low-traffic indoor garage, a kit might do the trick for a couple of years. If you want a finish that holds up under daily use, hot tyres, and a humid Queensland summer, the prep and the products both have to change.
In my 20 years of doing this, I’ve ground off plenty of failed kits to put a proper coating down underneath. Here’s what I commonly see, and why it happens.
Free On-Site Quotes, Gold Coast to Redlands
We come out, look at the surface, and give you a written price. No charge, no obligation.
What’s Actually in a DIY Epoxy Kit
Open a DIY epoxy kit, and the contents are pretty consistent across the range you’ll find at any hardware store. There’s the epoxy itself — sometimes a single-pack tin, sometimes a thinned two-pack with a separate hardener. There’s an acid etching solution, usually a citric or phosphoric mix, meant to clean the slab and rough up the surface. A small zip bag of decorative flakes, a roller, maybe a stir stick. That’s the kit, and that’s what’s expected to deliver a lasting epoxy garage floor.
The kits aren’t dishonest about what they are. The problem is what they’re built for. They’re engineered to hit a retail price point and sit on a shelf for a year or two without going off — which means low-solids resin, short coverage per tin, and a thin mil thickness once it goes down. Pot life isn’t a concern because there isn’t enough product in the tin to make it one. Most garage epoxy kits don’t include a topcoat at all, and the ones that do rarely include UV protection.
That’s fine for what they’re designed for: a light-traffic indoor garage, a rental refresh, a cosmetic update on a slab that doesn’t see daily car use. It’s not fine for a working garage with hot tyres, summer humidity, and afternoon sun on the door. The mil thickness is wrong, the acid etching prep step is wrong, and there’s no topcoat doing the heavy lifting up top. This sets up the failures in the next section.
The Four Ways DIY Epoxy Kits Fail
Failure on a DIY garage floor coating almost always comes down to one of four things. They show up in different combinations depending on the slab, the climate, and how the kit went down — but if a coating’s gone wrong, you’ll usually find at least one of these on the floor.
Peeling and Lifting Around the Edges
This is the most common one. Peeling starts at the edges — curling at expansion joints, around the garage door threshold, or in patches where the car wheels sit, with flake sections lifting off like a sticker. Once it starts, it doesn’t stop, and full delamination from the slab follows. The cause is poor adhesion, and that traces back to the prep. Acid etching opens the surface but doesn’t go deep enough — the concrete surface profile stays shallow, and the coating never grips properly. Hairline cracks in the original concrete make it worse, because moisture wicks up through them and pushes the film off from underneath. Diamond grinding is what would have prevented it, and no DIY epoxy kit includes one.
Hot-Tyre Pickup
Hot-tyre pickup shows up as a ring-shaped lift-off when the car parks, with bits of coating stuck to the tyres. It happens because warm tyres sit on the film and the plasticisers in the rubber soften an insufficiently cured or thin epoxy. When the car moves, the tyre takes the coating with it. A properly cured two-pack epoxy at the right mil thickness, with the abrasion resistance of a polyurethane topcoat over the top, is hard enough that this doesn’t happen. A kit film usually isn’t.
Yellowing in Sunlight
Yellowing turns a coating that started crisp white or pale grey the colour of weak tea within months. Most homeowners assume it’s dirt and try to clean it. It isn’t — it’s UV degradation, and once it’s in, it’s locked in. Standard epoxy resin isn’t UV-stable, and most epoxy DIY kits don’t include a UV-stable topcoat. Garages with afternoon sun on a roller door cop the worst of it. The fix is an aliphatic polyurethane topcoat — specifically the aliphatic, non-yellowing, single-pack moisture-cure polyurethane we use on every Spray Your Concrete job — which holds its colour and gloss retention for years, where a kit’s epoxy ambers in months.
Bubbling, Fish-Eyes, and Patchy Finish
If the floor came out cratered, dimpled, or patchy from day one, the cause is usually surface contamination, slab moisture, or applying outside the product’s recoat window. Oil residue from a working garage causes fish-eyes. Slab moisture and vapour transmission cause bubbling — common on Gold Coast slabs where moisture testing wasn’t done before the kit went down. High ambient humidity throws off the cure altogether: a Saturday morning above 80% relative humidity, which isn’t unusual on the coast from December through March, can push a kit’s epoxy past its working window before it’s even out of the tin. DIY kits don’t include moisture meters or hygrometers, and most homeowners don’t test for either, which is why painting a garage floor on a typical subtropical weekend so often goes wrong.
When a DIY Garage Floor Kit Is Actually a Reasonable Choice
Not every garage needs professional epoxy flooring. A DIY epoxy kit can do a respectable job in the right conditions — and it’s worth being honest about where those are.
If the garage is low-traffic and indoor — a slab that gets walked on more than driven on, with no daily car parked on it — a kit will hold up reasonably well for a few years. Same goes for a rental property where the owner wants the floor to look tidy without committing to a permanent finish, or a refresh on a slab that’s already been professionally coated and just needs a top-up colour over the existing system.
What a kit won’t do is last on a daily-use, driveway-side working garage. Two to three years is a realistic ceiling there, and only if the application went down well. Don’t apply a kit over old paint or a previous failed coating without grinding it off first — you’re just adding a second layer that’ll fail. Don’t apply on a humid day. And don’t expect a kit to be the right call for a recoat down the track if the conditions ever change. Past those limits, a kit isn’t going to go the distance.
What a Professional Epoxy Garage Install Actually Does Differently
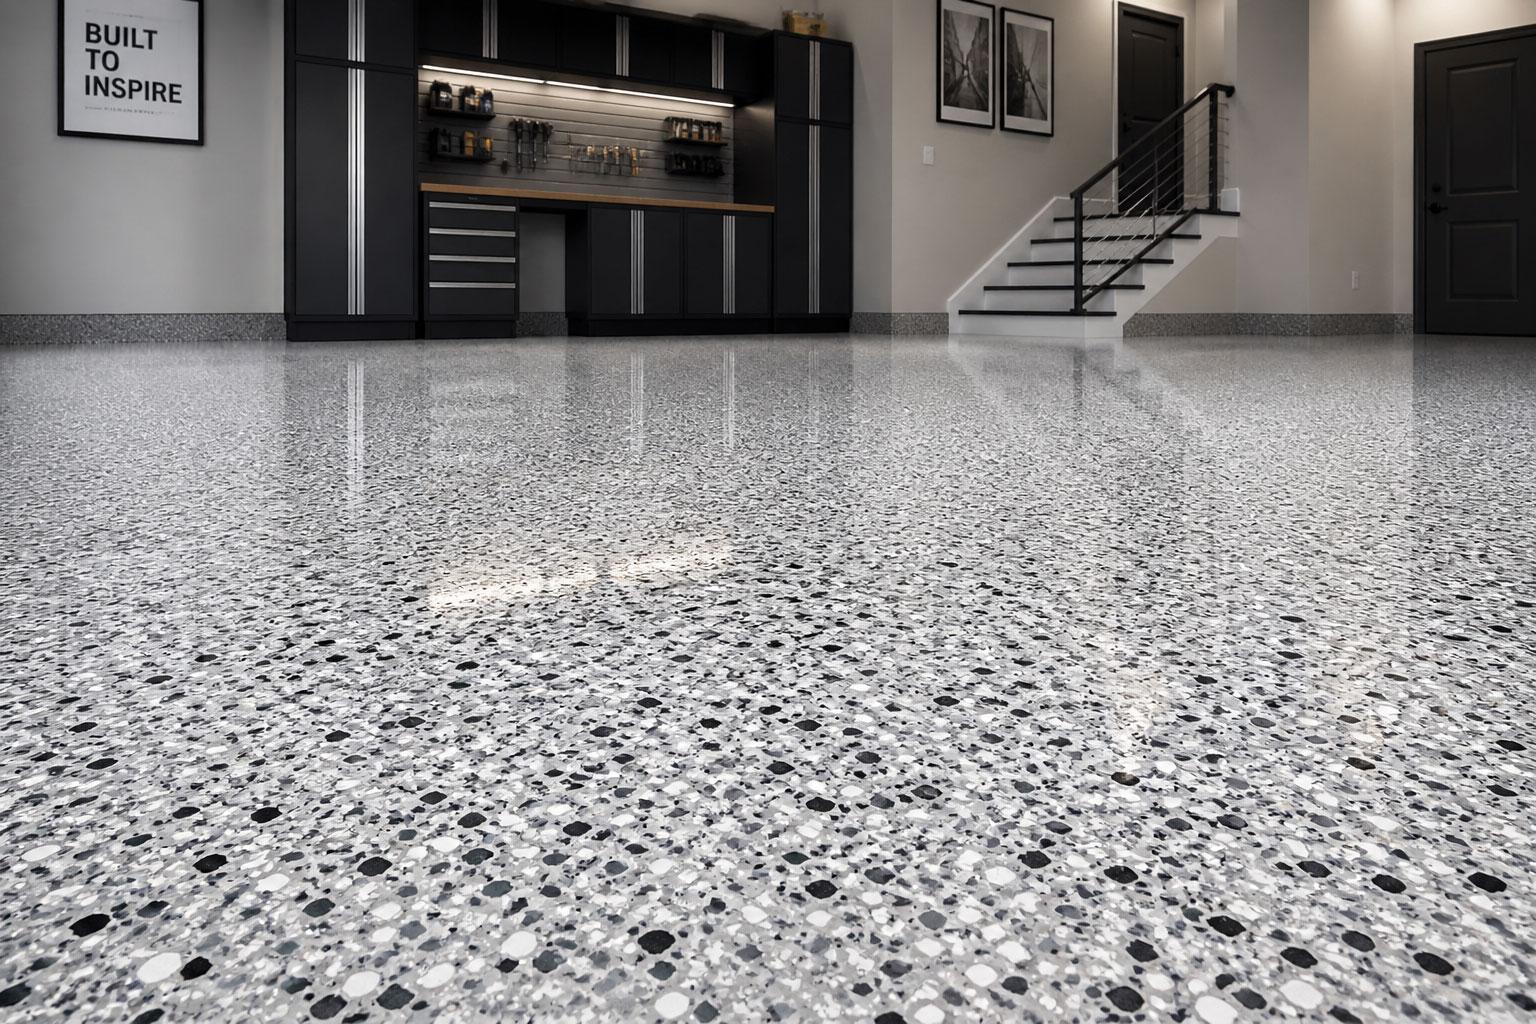
A professional epoxy garage floor fixes the failure modes by changing what happens before the epoxy ever comes out of the tin. At Spray Your Concrete, we use the Durable Concrete Coatings system, finished with an aliphatic, non-yellowing, single-pack moisture-cure polyurethane topcoat. Six steps for a flake finish, four for solid epoxy — and every one of them is doing work the kit skipped.
It starts with diamond grinding. The slab is mechanically ground back to open the concrete profile, and that’s the step that solves the peeling problem in almost every kit failure I get called to. Acid etching can’t replicate it. Once the slab’s prepped, a bonding primer goes down and locks the system to the concrete — another layer of adhesion the kit doesn’t have.
The basecoat is a two-pack epoxy applied at the right mil thickness, in the chosen colour, inside the product’s recoat window. That’s what stops hot-tyre pickup. A film at the right thickness, properly cured, is hard enough that warm tyres after a summer drive don’t lift it. For a professionally installed epoxy garage floor with a flake finish, decorative flakes — Colour Flake® from Durable Concrete Coatings — are broadcast into the wet basecoat, then once it’s cured, the loose flakes get vacuumed off and the surface prepped for the topcoat.
The polyurethane topcoat is the last step and the one that earns its keep on a Gold Coast epoxy garage floor. Two coats of aliphatic, non-yellowing polyurethane go down — the same product on every Spray Your Concrete job. That’s what stops the yellowing in afternoon sun, holds gloss retention, and gives the floor the abrasion resistance to shrug off daily car use. It also carries the drive-on time the floor needs once we’ve packed up.
Pricing reflects the system. Work starts from $55/m² for solid epoxy and from $77/m² for epoxy with decorative flakes, depending on slab condition, garage size, and finish. Spray Your Concrete is QBCC-licensed (#1205294), and every job is quoted on-site by the same crew that does the install — the same garage floor epoxy installers from the first grind to the final topcoat.
If You’ve Already Tried a Kit and It’s Lifting
If you’re reading this with a peeling kit in front of you, the slab underneath is almost certainly fine. The coating goes; the concrete stays. A failed kit can be removed and a proper garage floor coating put down in its place, and it’s one of the more common jobs we handle.
Removal means grinding off what’s left of the kit back to clean concrete — same diamond grinding step a fresh slab gets, just with more material to work through up front. That adds time and cost compared with a clean install, but the new finish will outlast the kit by a decade or more. We’d rather grind off a failed kit and start clean than try to coat over the top of one — there’s no shortcut that holds.
The right next step is a free on-site quote so we can look at the lifting in person, check what’s underneath, and tell you what the recoat involves. If you want to read more about what goes into a full system, the full guide to epoxy garage flooring covers it.
Frequently Asked Questions
The Bottom Line
Most DIY kits fail because the prep is wrong — the slab never gets the diamond grind it needs, and everything downstream of that compounds. Professional garage floor coatings get the prep right, and the finish lasts because of it. If you’re weighing painting a garage floor with a kit or staring at a kit that’s already lifting, Spray Your Concrete offers free on-site quotes across the Gold Coast to Redlands. Call 1800 954 449 or get in touch through the contact form, and we’ll come out, assess the slab, and tell you straight what your epoxy garage needs.

